Showing posts with label Desserts. Show all posts

Monday, August 8, 2011

Vanilla Cake with Strawberry Buttercream

This cake was delicious!!  I baked 4 layers and it looked very impressive when served at a dinner party over the weekend. The one negative about the cake, besides the fact that you will have to run a marathon after eating a slice to burn off all the calories, was the gigantic size of each slice.  I had to use dinner plates to serve them on since each slice was so tall.  Overall, it was a very tasty cake that made mouths drop when I brought it out.


Yield: 1 8in 4 layered cake: 20 servings


2 boxes White cake mix plus ingredients to prepare cake mix (usually eggs, water, and oil)


To make cake:


Prepare cake mixes and bake according to directions.  Making sure to grease and flour cake pans so you can easily remove baked cake from pans to cooling rack. Cool completely 

(greased and floured cake pan for easy removal)


To prepare Chocolate Covered Strawberries for decoration:


1 pound strawberries
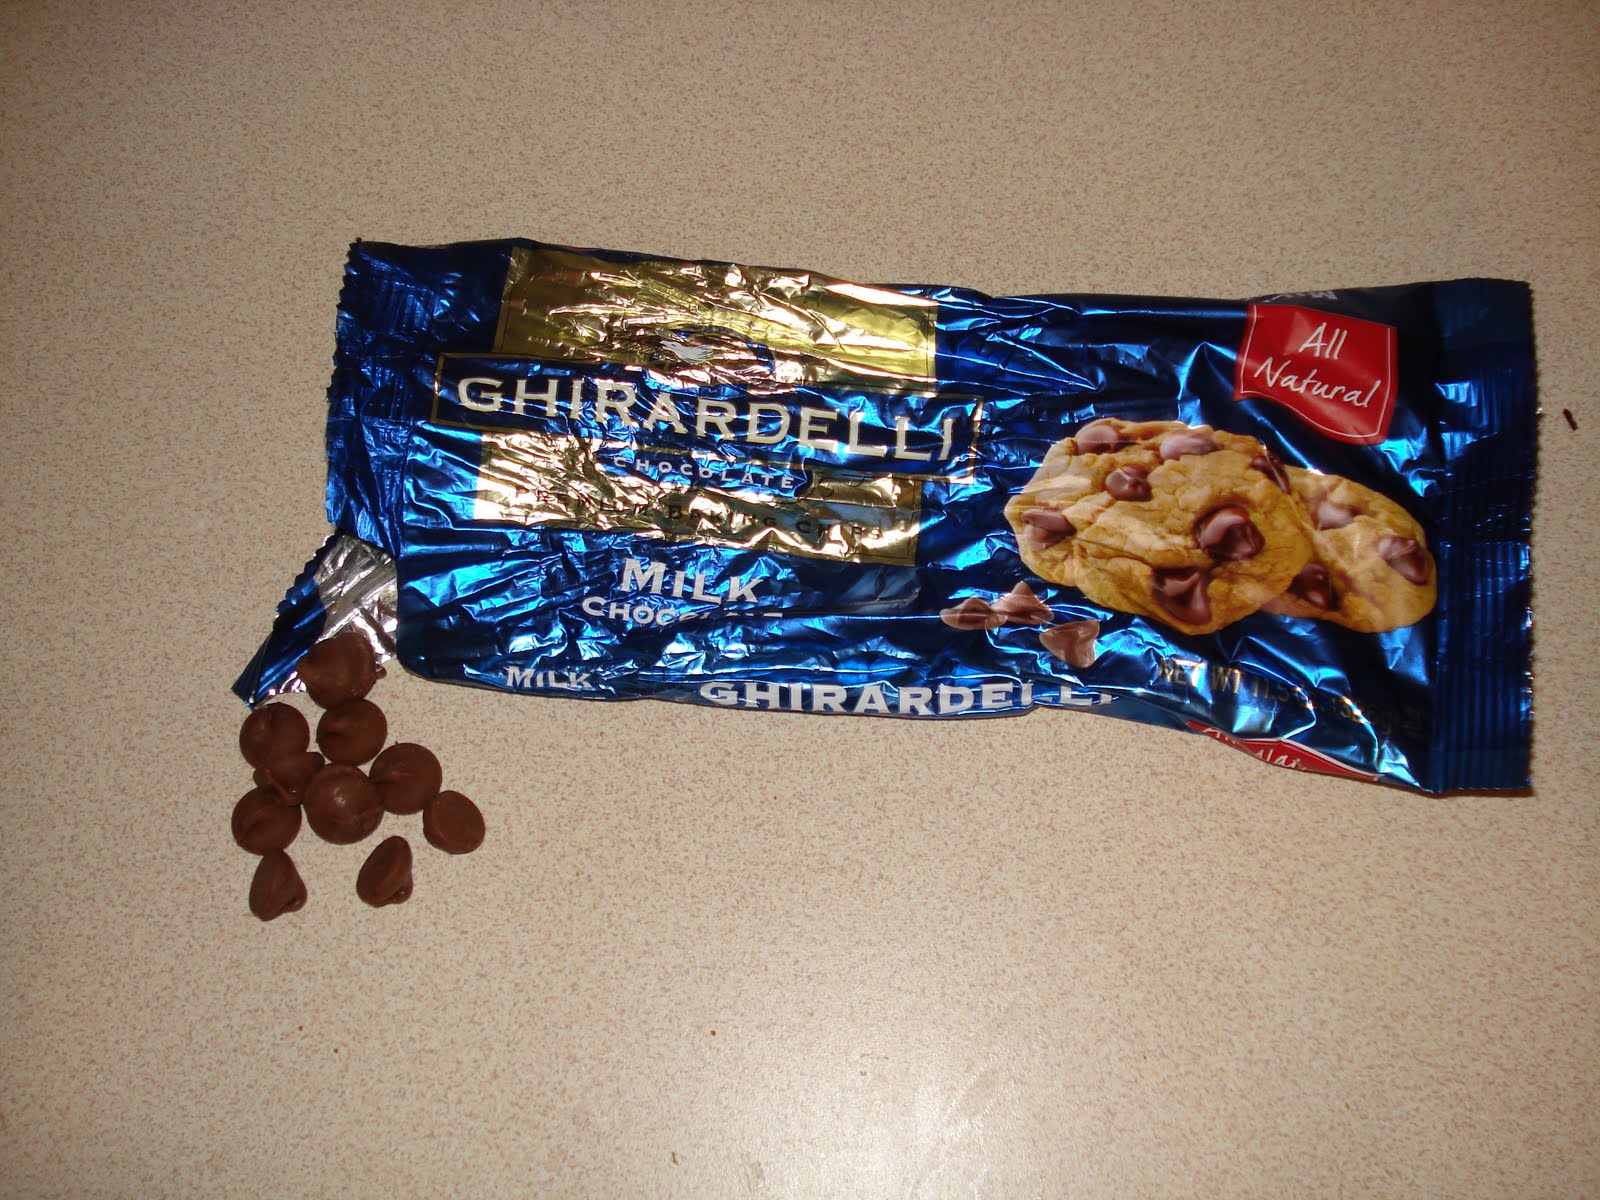
1/2 bag chocolate chips


Wash and cut off leaves from strawberries.  Cut strawberries in half vertically.  Pat dry.
Melt half a bag of chocolate chips in microwave bowl.  Microwave in 30 second increments stirring in between until completely melted.  Dip flat bottom of strawberry in melted chocolate.  Place on waved paper to harden.

(I did not use a whole pound of strawberries. I just picked the biggest and prettiest ones and used the rest for the strawberry puree)


Prepare Strawberry Buttercream:


6 sticks of salted butter; room temperature
2 Tbsp to 1/4 cup strawberry puree
3 pounds powdered sugar


Blend about 5 strawberries in a blender to make a strawberry puree.
Mix (at high speed) room temperature butter with powdered sugar, alternating and scrapping down sides of bowl.  Add enough strawberry puree, to taste, making sure buttercream does not get too runny.  I added 1/4 cup to start with and went from there.  Buttercream should be fluffy but stiff. (You may need to add a couple drops of red food coloring to get a nice pink shade)


Assemble cake:


Level any cakes that may have cooked unevenly.  I usually have a dome cake and need to use a serrated knife or cake leveler to make each layer even. Please save scrapes of cake for husband to snack on while assembling :)


Place one cake layer on cake platter.  Spread top with strawberry buttercream for your filling.  Top with another cake layer followed by strawberry buttercream.  Continue until all cake layers are stacked and topped with frosting.


Spread a thin layer of buttercream around cake sides and top.  This will be a crumb coat.  It does not need to be perfect and it is okay to see some cake.  You are just trying to get a thin coating of frosting to hold your cake together and prevent crumbs from getting on your final layer of frosting. Make sure you are filling in any gaps between the layers and also the bottom of the cake platter. Cool in fridge for 1 hour loosely covered with plastic wrap.


Remove cake from fridge and spread a thick final layer of frosting along sides and top.  You can use an off-set spatula or butter knife to spread frosting. It may help to frost cake on a turn table but it is definitely not necessary.  Allow buttercream to crust by letting it sit for 10 minutes.

 (This is a picture of the final thick layer of frosting before it was smoothed with a a paper towel.  Notice that I used a turntable to help spread the frosting and I also used large pastry bags to apply frosting... both are totally optional and can be accomplished with just a butter knife or offset spatula.)

(Instead of decorating directly onto the cake platter, I set my cake on top of 8in cake boards found in the baking supply area of craft stores or Wal-Mart.)  Once I was finished smoothing the cake I CAREFULLY picked up the heavy cake using a large offset spatula and my hand.) 


(Large off-set spatula and butter knife.  Either can be used for applying frosting to cake)


Next, lightly touch buttercream and if it is not sticky then it has crusted.  If you are trying to get a perfectly smooth cake here is an AWESOME TIP I use for making my wedding cakes.  Take 1 sheet of a Viva brand paper towel. Lay along side of cake.  With your hand, Gently rub the side of the cake smoothing out any lines.  Start smoothing on the sides and then finish off with the top of the cake, trying to get smooth edges.  The heat from your hands helps to melt the butter just enough to make it fill in any bubbles or lines.    You should be able to use 1 paper towel for the whole cake.  If frosting comes off onto paper towel you are either pressing too hard or it did not crust completely.

(Here the Viva paper towel is against the side of the cake and my hand is gently rubbing to smooth out any lines or bubbles)


Lastly, take chocolate covered strawberries and place around the bottom of the cake.  I also covered one whole strawberry in chocolate to place on the top.

 (This above picture is the true shade of pink for the frosting.  You may need to add a couple of drops of red food coloring to get it this pink since adding more strawberry puree will loosen the frosting too much)


Serve to your sweet-toothed crowd and enjoy with a glass of cold milk!


Sweet Dreams,
Cindy


Friday, July 29, 2011

Fruit Smoothie

This is so refreshing after spending the day in the sun!  The last time I made these smoothies, I added a little less milk to make them thicker like a sorbet.  When I come home from the grocery store I wash and cut the strawberries in half, removing the steam. I add the blueberries and strawberries to a freezer bag and store in freezer. I place bananas whole with steams on directly into freezer.  When I am ready to use them I cut the ends off of the banana and cut in half.  Then I stand the banana on a cut side and trim off the peel (like you would when you cut corn off of the cob).  You can add any frozen fruit you prefer (cantaloupe, pineapple, just bananas or berries...) Be sure to drink it fast before it melts in this hot summer heat!


Yield 4 smoothies


1 carton frozen strawberries
1/2 pint frozen blueberries
2 frozen bananas 
2 Tbsp sugar (this is optional but I think the frozen strawberries sometimes taste bitter so I add a little bit of sugar)
1/2 cup to 1 cup milk (more or less depending on how thick or thin you like it and also how many servings you need to get)


Add Frozen Fruit, Sugar, and Milk to blender.  Blend until smooth.


Pour into glasses (or bowls) serve with straw.


Drink (or eat with spoon) and enjoy!


Sweet Dreams,
Cindy

Friday, July 15, 2011

Crepes

I love ordering crepes when I go out for breakfast at restaurants!  They are light, sweet, and so perfect served with berries and cream!  This recipe is perfect for a Mother's Day brunch or special day.  Since it is so tasty and delicious, it could be served for any meal of the day!


Yield: 6-8 crepes

1 cup flour
2 eggs
1/2 cup milk
1/2 cup water
1/4 tsp salt
2 Tbsp melted butter

Combine wet ingredients in a bowl.  Add in dry ingredients.  Whisk until smooth and runny.

Heat pan over medium high heat.  Grease with a little butter.  Pour 1/4 cup batter onto center of skillet.  Tilt skillet so batter runs to edges and creates a thin crepe.  

Cook 1-2 minutes until lightly browned.  Flip crepe using a spatula and brown other side for 1 minute.  Remove from heat and place on plate in microwave to wait until all crepes are done cooking.

For filling you could use a cream cheese and powdered sugar mixture, you could spread with your favorite jam or nutella, or use whipped cream with berries folded in.  I like mine with berries, powdered sugar, and a little pancake syrup.


Sweet Dreams,
Cindy

Thursday, June 30, 2011

Funnel Cakes


This recipe will be a favorite for kids of all ages.  When I was in high school, my Mom would make funnel cakes for my friends when we would hang out at our house during the summer.  We have also been making these for the 4th of July for several years now.  To keep the tradition going, I will post my recipe and hope that you too will enjoy it and get as many wonderful memories as I have!


Yield: 6-8 Funnel Cakes

3 cups of flour
2 tsp baking powdered
1/2 tsp salt
3 cups milk
4 T orange or lemon juice
Oil for frying
Powdered sugar, cool whip, fresh berries for topping

Mix ingredients together in a bowl.  Batter will be similar to pancake batter but a little more runny. 


Transfer some batter into a glass measuring cup to help pour into pan.

Heat 1/2 in deep oil in a skillet on medium high heat.  Test to check if oil is hot enough by dripping some batter into the oil.  If it sizzles and floats to the top, it is ready.


Carefully, drizzle batter into oil.  I make a couple circles around and then try to make star patterns with the batter to connect all the swirls together. 


Fry until golden brown.  Carefully turn the funnel cake over and fry the other side.

Remove from oil and set on paper towels to drain excess oil.


Sprinkle with powdered sugar while still warm.  Serve as is or add cool whip and berries for an extra special treat!


Last month, I wanted to make something unique for my Dad's birthday "cake" and knew he would enjoy a personal funnel cake topped with powdered sugar, cool whip, and strawberries!  When I brought the funnel cake over to him with the candles lit, his eyes opened wide and jaw dropped. Needless to say he was impressed and we all really enjoyed the sweet treat.


I wanted to upload this recipe before the 4th of July weekend!  This is one of my favorite holidays.  It is usually spent having BBQ's, corn on the cob, watermelon seed spitting contests, swimming, singing, and fireworks! Whatever your plans are, remember to say a prayer thanking God for protecting our beautiful country and blessing us to be a part of the Greatest Nation on Earth.  


Happy Birthday, America!!!


Sweet Dreams,
Cindy


Update on Key Lime Pie

I just posted and update on my Key Lime Pie recipe.  If you are going to any 4th of July parties and need a dessert to bring....this is THE one!

3 Ingredient Peanut Butter Cookies!

This is the simplest recipe ever for Peanut Butter Cookies!  So easy and they taste great!  Sometimes I add 1/2 tsp of baking soda, but it turns out great without it.  These are perfect to make around Christmas time when you are baking and want a variety of cookies!


Yield: 15- 30 cookies (depending on size)

1 cup Peanut Butter
1 cup Sugar
1 egg

Mix ingredients in your favorite large bowl.


Scoop tablespoon-size dough onto greased cookie sheet.


Use a fork to make a criss-cross pattern on top of the cookie.


Bake 350* for 10 minutes.

Remove from cookie sheet and cool.


Enjoy this special treat that took hardly any effort!


Sweet Dreams,
Cindy

Wednesday, June 15, 2011

Key Lime Pie

****UPDATE****  I made this pie again a couple days ago for a dinner party.  I added 1/2 cup of sour cream to the filling and 1 drop of green food coloring to make it look more like a LIME pie...the result was HEAVEN!!!!  It had a very smooth creamy texture almost like a cheesecake.  I served it with cool whip on top instead of the meringue and it helped to make it not so rich and sweet!  I will definitely use this recipe many more times in the future!!! Here are some photos.  ( I still need to learn how to focus my camera when taking pictures, sorry it's blurry)


I thought I would take a little break from my bread series and do a post on a dessert.  I still have more bread recipes to share such as pita bread, tortillas, and cinnamon rolls.


This key lime pie recipe is very easy since it is basically mix in a blender and then baked!  The tartness of the lime reminds me of summer!  Perfect for a summer dinner party or birthday celebration!

Homemade Graham Cracker Pie Crust:

1 sleeve graham crackers
1/4 cup melted butter
1/3 cup sugar

·       Place graham crackers in large gallon size ziplock bag and crush with rolling pin.
·       Add sugar and melted butter to bag.  Shake until all crumbs are moistened.
·       Press crumbs into nicely greased pie dish.
·       Bake 375* 12 minutes.  Cool while making pie filling.


Key Lime Pie Filling:

1/2 cup lime juice
5 egg yolks
zest of 2 limes
1/2 cup sour cream (optional)
1 drop of green food coloring (optional)

·       Place ingredients in blender and blend until combined (30 seconds).
·       Pour on top of  graham cracker crust.
·       Bake 375* 25 minutes.

Meringue Topping:

5 egg whites
6 Tbsp white granulated sugar

·       Mix egg whites and sugar on high speed until stiff peaks form.  This may take a couple minutes.  
·       Spread meringue on top of pie making sure to seal the edges.
·       Bake 375* 10 minutes or until golden brown.  Be careful not to burn tips.


Allow pie to cool to room temperature and then store in refrigerator.  Serve chilled with a slice of lime!

Helpful Tips:

This pie recipe is also good with whipped cream on top instead of the meringue. However, I wanted to use up the egg whites so I chose to do a meringue topping.  

You can also use a premade pie crust to make this even easier!


Sweet Dreams,
Cindy